HOW TO SEAL BUTCHER BLOCK COUNTERTOPS - Waterlox Vs. Mineral Oil
So, you've finally taken the plunge and installed beautiful butcher block counter tops in your kitchen! Congratulations! But now you might be wondering, how do I keep these babies looking as gorgeous as they do now? Don't worry, we've got you covered. Here are our top tips for maintaining, cleaning, and sealing butcher block countertops.
Ready to hear the winner between Waterlox and mineral oil for butcher block countertops? Drumroll please... the clear victor is Waterlox!
Where To Use A Butcher Block Counter Top
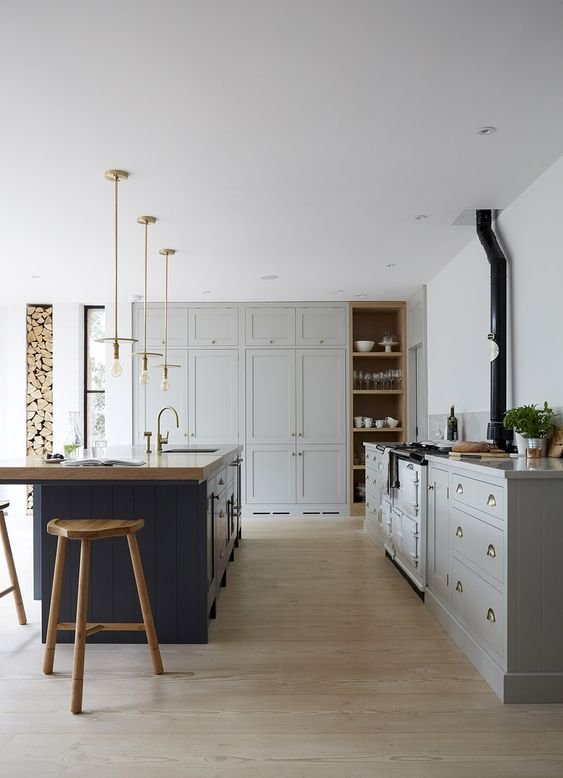
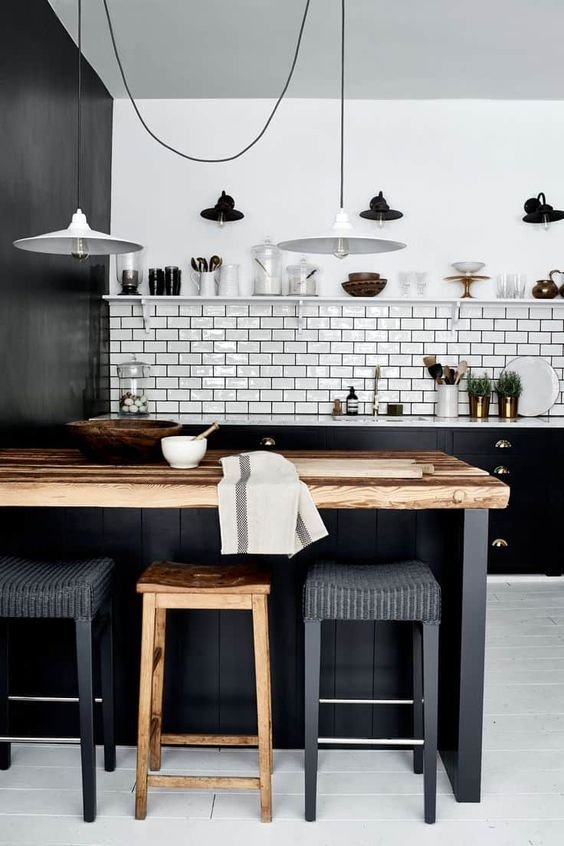
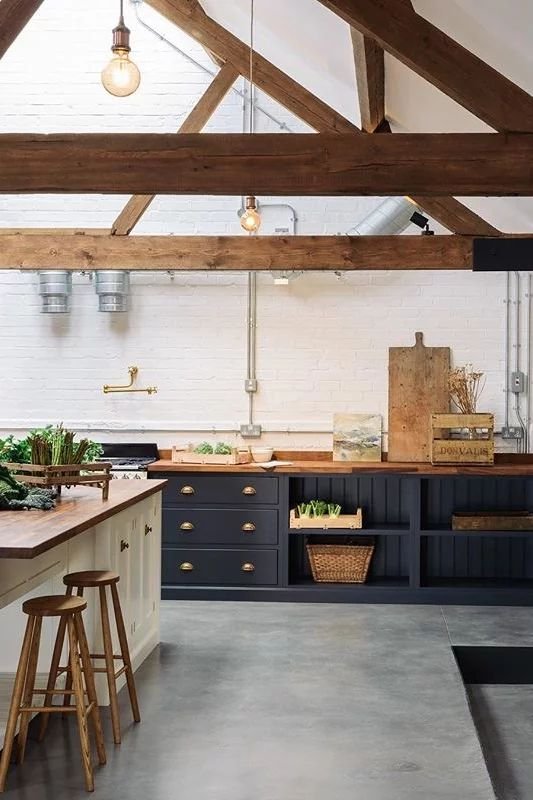
Oozing with rustic charm, their natural wood grain, and warm tones make them the perfect complement to a farmhouse or country-style design. They also work well in more modern designs, as their natural texture can add contrast to a sleek, minimalist space. Butcher block countertops are durable and easy to maintain, making them perfect for high-use areas like the kitchen, home bar, coffee station, or desktop.
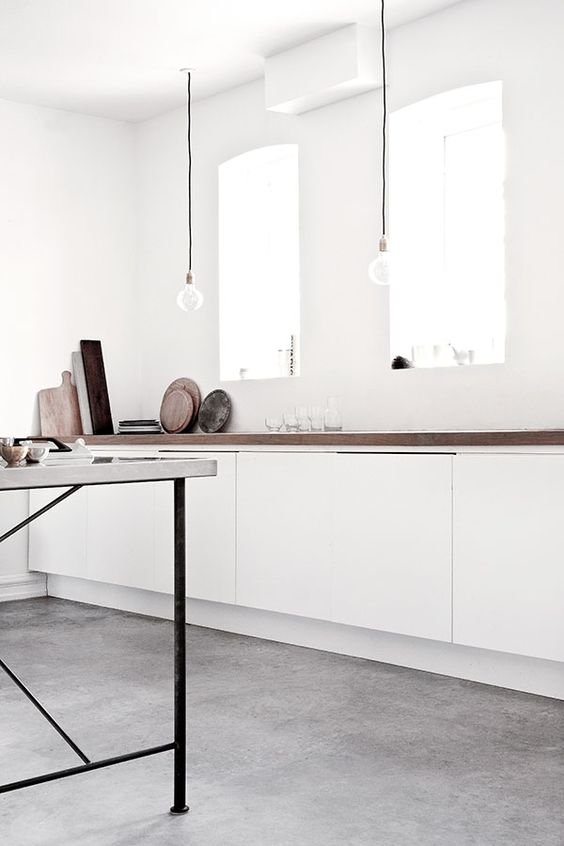
A butcher block countertop is best suited for use in kitchen areas where it will not be exposed to excessive moisture or humidity.
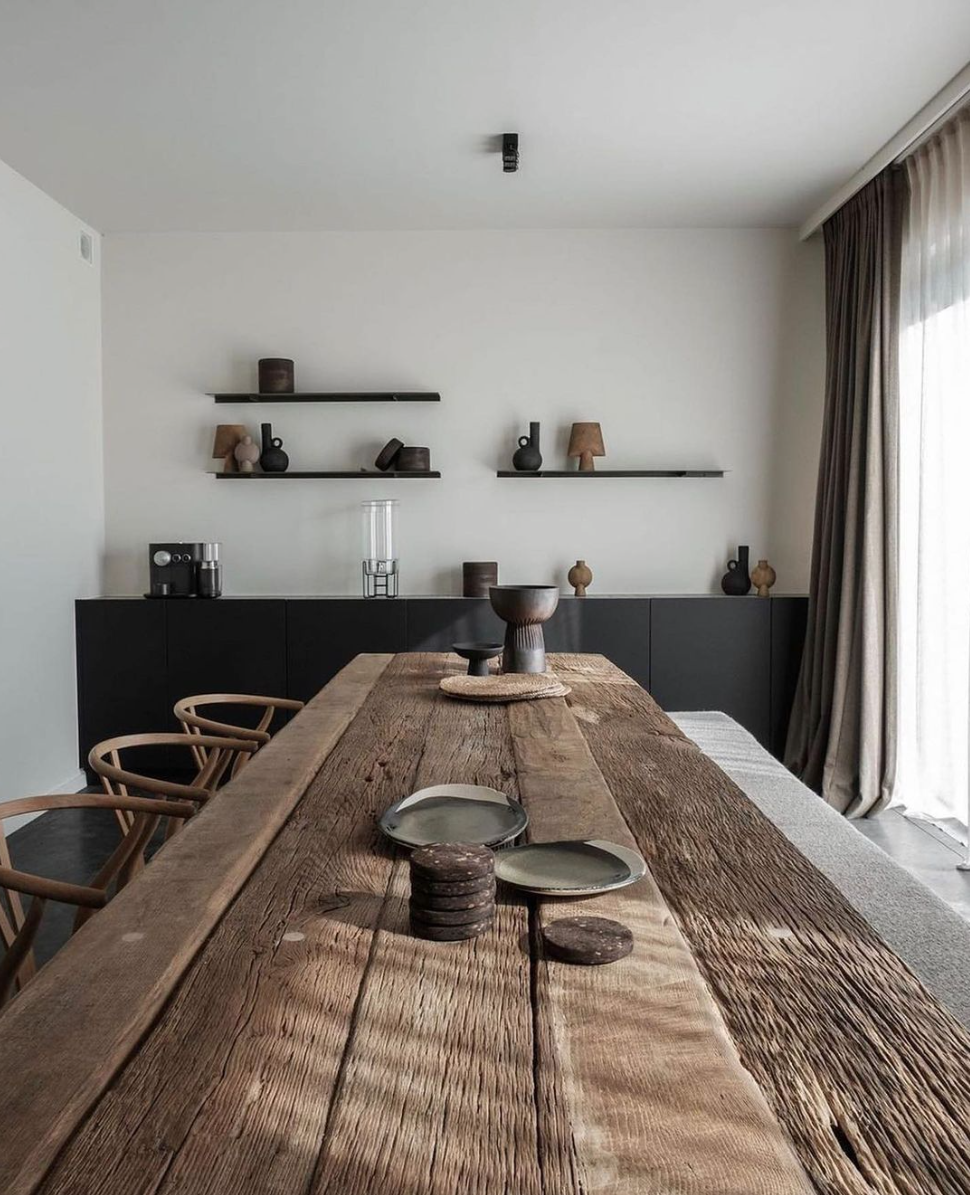
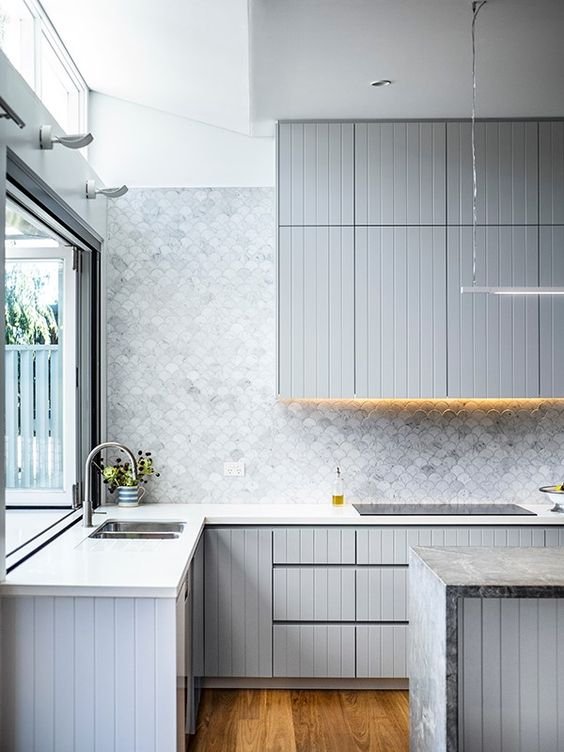
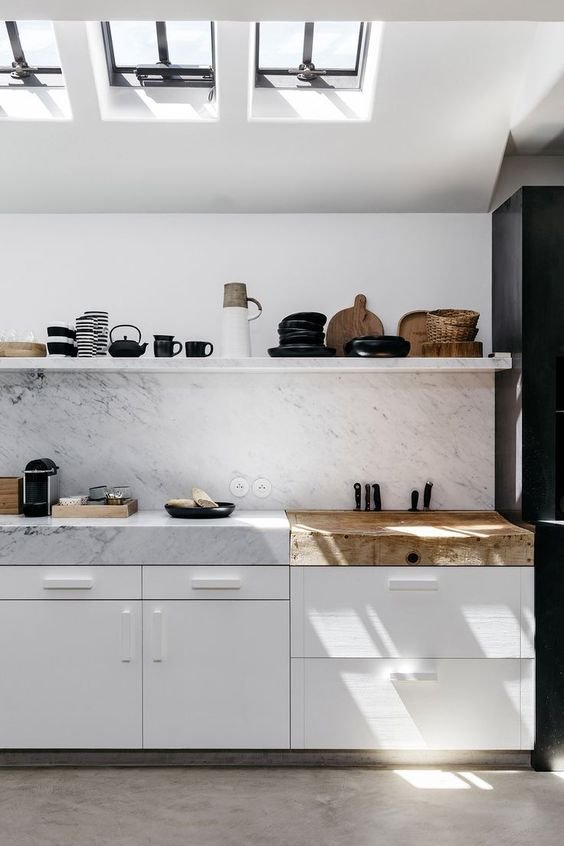
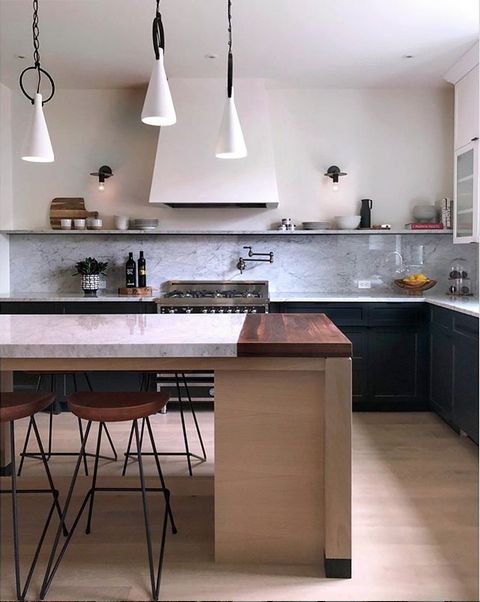
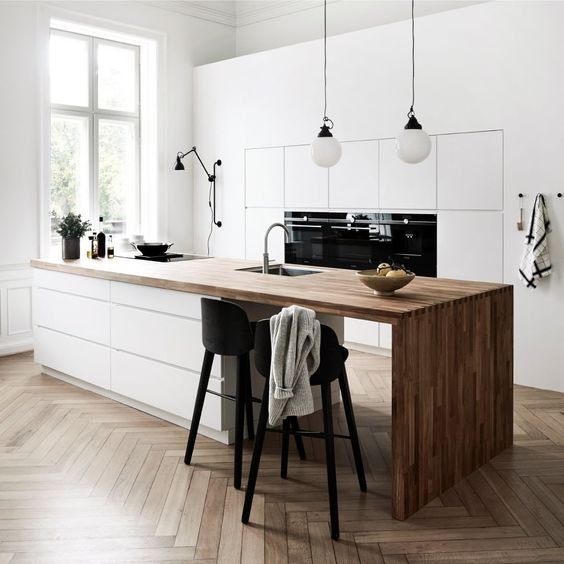
We adore pairing butcherblock counters as a focal point like a kitchen island with more resilient countertops for the heavily used areas and around sinks or as a built-in butcher block. For a rustic yet refined look, we opted to inset our own butcher block countertops into a run of counters in the kitchen, making a unique and statement-making design.
Why Do You Seal Butcher Block Countertops?
Sealing a butcher block countertop may seem like an unnecessary step, but trust us, it's a crucial one! Not only does it protect these food prep areas from staining and discoloration, but it also helps to prevent bacteria from building up on the surface.
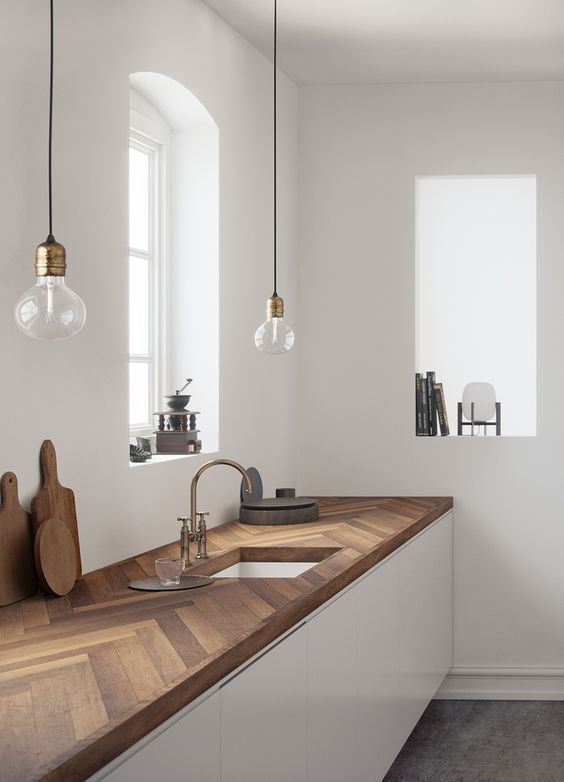
Butcher block countertops (either edge grain or end grain) do not have a naturally water-resistant finish, so they may not fare well around a sink area. However, if they are sealed properly and maintained, they can withstand some moisture and humidity.
Wood Choices
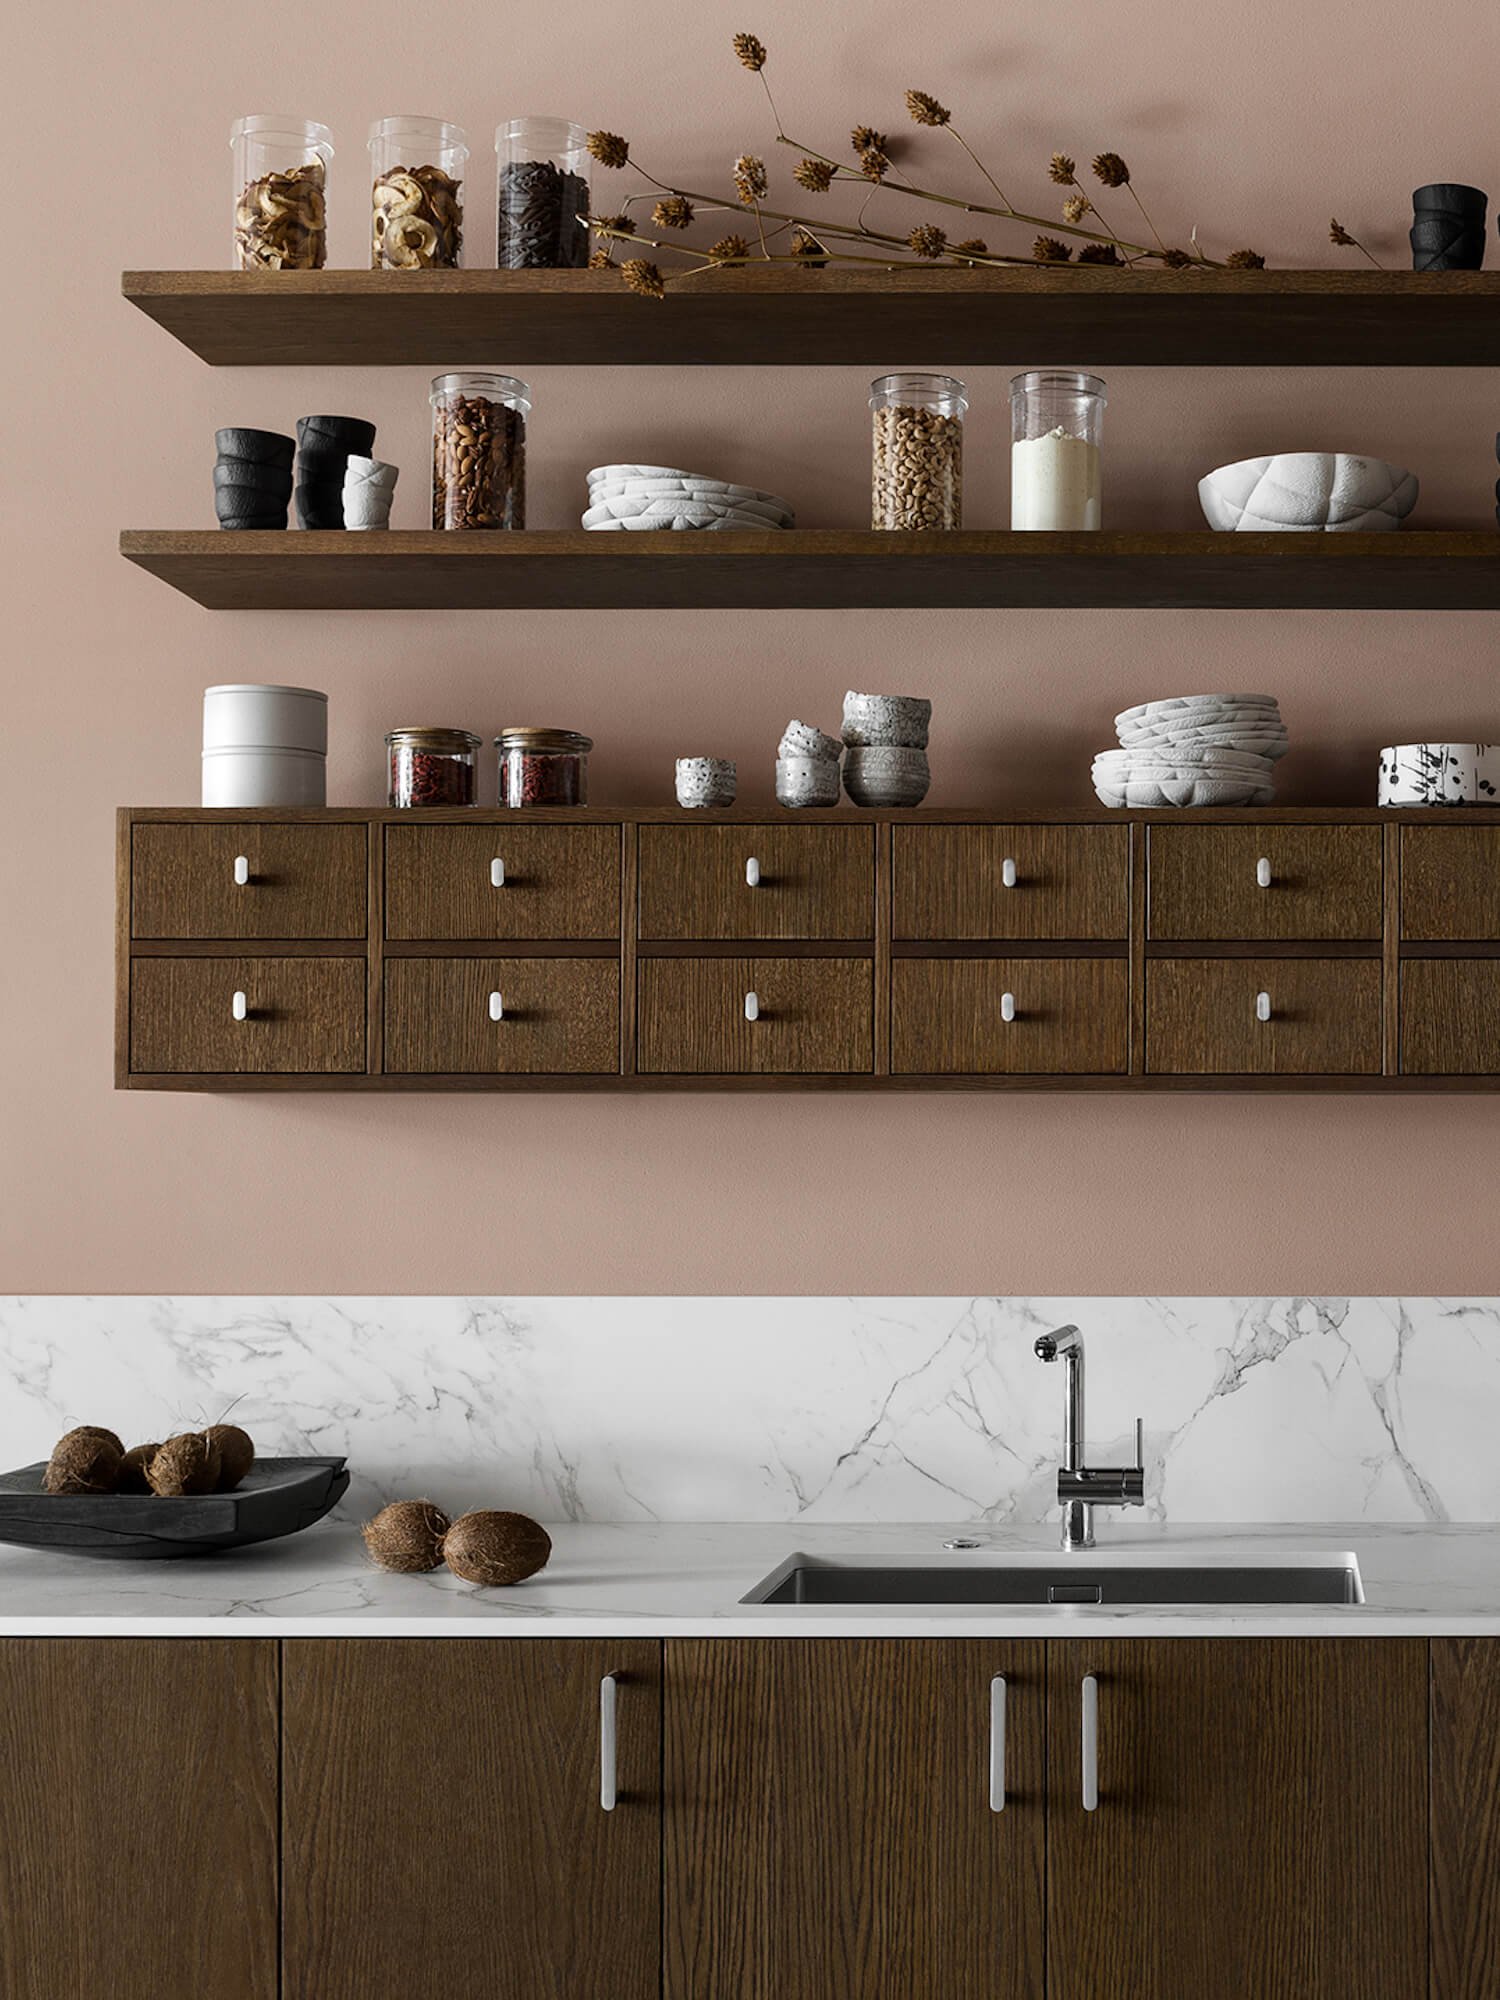
When it comes to choosing a wood for butcher block countertops, there are a few tried-and-true favorites that always come to mind. Birch and maple are two of the most popular options and for good reason! Birch butcher block counters have a warm, creamy tone and a subtle, beautiful grain, while maple countertops boast a pale, porcelain-like appearance with a smooth, even texture. But don't forget about other favorites like walnut, cherry, oak, and acacia wood! Each of these woods has its own unique characteristics that make them perfect for the kitchen
Wood Oil - For A Butcher Block Cutting Board And Butcher Block Kitchen Counters
Are you looking for a sealer to protect your wood countertop? Look no further! An array of butcher block sealers are widely available at most home improvement stores and can provide your space with long-lasting protection. Check out some of our favorite products below!
Tung Oil - derived from the seed of the tung tree, a natural, food-safe option that can give your countertops a warm and elegant look. It is often used to protect and enhance the natural color of the wood. Tung oil is not as durable as other finishes and requires more frequent reapplication. It can also be a bit more expensive than other options.
Mineral Oil - a colorless, odorless oil derived from petroleum. It is often used as a food-safety finish for wood countertops and cutting boards. It is easy to apply and does not require multiple coats, but it must be reapplied regularly to maintain effectiveness.
Boiled Linseed Oil - a traditional deeply nourishing finish made by heating raw linseed oil. It is often used to protect and enhance the natural color of the wood. It's also easy to apply and doesn't require any special tools or equipment. Linseed oil is not as durable as other finishes and requires more frequent reapplication. It also doesn't provide any protection from water and heat.
Waterlox - a blend of tung oil and resin that makes it a durable and long-lasting finish. It provides great protection against water and heat. It makes it resistant to spills, scratches, and everyday wear and tear. It is easy to apply and dries quickly after a few hours, but it has a stronger smell than other options.
Beeswax - On the plus side, beeswax is a natural, food-safe option that can add a warm, honey-like glow to your countertops. It's also easy to apply and great for giving your butcher block a soft, natural feel. Beeswax does require more frequent reapplication than other finishes, so you'll need to be prepared to provide your countertops with a little extra TLC.
BUT IF YOU'RE LOOKING FOR A LOW-MAINTENANCE OPTION, YOU MIGHT WANT TO CONSIDER MINERAL OIL OR WATERLOX.Waterlox Vs. Mineral Oil To Seal Butcher Block Countertops
When it comes to sealing butcher block countertops, two popular options are Waterlox and mineral oil. There are many options, and knowing which one is right for you can be difficult. We recently tried Waterlox and mineral oil, and we wanted to share our thoughts on each.
Sealing Butcher Block Countertops with WATERLOX
First, let's take a look at Waterlox. This sealant combines tung oil and resin, and it's known for its durability and long-lasting protection. Waterlox is also resistant to heat and water, making it a good choice for kitchen countertops that may be exposed to hot pots, pans, or spills. However, it can be a bit more difficult to apply than mineral oil and may require multiple coats to achieve full protection.
Bonus points for Waterlox for offering three sheen options: satin, semi-gloss, and gloss. But which one is right for you? Let's break it down!
Satin Finish - this sheen option offers a soft, subtle shine that's perfect for those who want a more understated look. Satin Waterlox is also a good choice for those who want to bring out the natural beauty of the wood without making it too shiny.
Semi Gloss - as the name suggests, this option provides a bit more shine than satin, but it's still not too over-the-top if you want a bit of gloss without going full-on shiny.
Gloss - this sheen option provides the highest level of shine, making it perfect for those who want their countertops to stand out. Just be aware that gloss Waterlox can be a bit harder to maintain, as it's more prone to showing fingerprints and smudges.

Sealing Butcher Block Countertops With MINERAL OIL
This is a more traditional butcher block sealer, and it's been used for decades. It's easy to apply, and it doesn't have a strong smell like Waterlox. However, we found it didn't provide as much protection as Waterlox. We had to reapply it more often, and it didn't give our butcher block the same smooth, even finish.
THE VERDICT - Sealing butcher block countertops is easy with both Waterlox and mineral oil, but in our case, WATERLOX WAS THE WINNER . It gave our butcher block a nice, even protective, and durable finish, and the smell wasn't a problem.
How To Seal A Butcher Block Countertop - a step by step guide
Start by cleaning the wood surface thoroughly with warm water and mild detergent. Remove any dirt or grime that may have accumulated on the surface.
Next, lightly sand the entire surface of the butcher block with fine-grit sandpaper or an orbital sander. This will smooth out any rough areas and help to remove any other stains or discolorations.
Once the surface is smooth, wipe it down with a damp cloth to remove any dust or debris.
Now it's time to apply the sealer. Choose a food-grade mineral oil or butcher block oil and apply the first coat to the surface of the butchers block, making sure to cover every inch.
Use a clean cloth to wipe off any excess oil, then let the butcher block sit for at least 24 hours to allow the oil to soak in fully.
After 24 hours, give the kitchen countertop another light sanding and wipe it down with a clean cloth.
Apply a second coat of the oil finish and repeat the process of wiping off any excess and letting it sit for 24 hours or until it is fully cured.
Once the final coat of oil has been applied, your butcher block countertop is ready! Just remember to reapply oil every few months to keep the surface protected.
And that's it! Your new butcher block counters are ready to chop, slice, and dice to your heart's content.
How To Clean Wood Kitchen Countertops
One of the best things about solid wood butcher block countertops is that they are naturally antibacterial. A simple solution of warm water and mild dish soap will do the trick. Just make sure to wipe them down with a clean, damp cloth and dry them thoroughly to prevent stains and water damage.
But what about those pesky stains? No worries, baking soda, and lemon juice will do the trick. Just mix a paste of equal parts baking soda and lemon juice, apply it to the stain, and let it sit for a few minutes. Then, just wipe it away with a clean, damp cloth.
And finally, a word of caution: Avoid using harsh chemicals or abrasive sponges on your butcher blocks. These can damage the finish and leave unsightly scratches. Instead, opt for a soft cloth or sponge, and be gentle when cleaning.
Sealing and caring for butcher block countertops is simple and easy with a few basic supplies. All you need is some Waterlox or food-grade mineral oil or butcher block oil, a few clean cloths, and mild dish soap to keep your counters looking good as new. With just a bit of effort, you can maintain the natural beauty of your wooden kitchen countertops for years to come.
GATHERAUS - where your dream home décor comes to life with endless style inspiration. Scroll and click those links below and watch your living space go from drab to fab in a snap.